Authentication Providers
One thing that can hold back single page apps with no backend is authentication.
Lets say you want to build a small single page app that acts as a simpler UI for your Github issues.
Github’s API is pretty awesome and it supports CORS so you can access the API directly from your browser once you have an OAuth2 access token.
The problem for a pure single page app is getting an OAuth token. The OAuth authentication process requires a server to send a signed request to the OAuth server, signed with a secret that you can never expose to the client-side of your app.
Netlify solves this problem by giving you a service that will sign the OAuth requests for you and give back an access token ready to use.
Using an Authentication Provider
Before you can use an authentication provider, you’ll need to register an API application with the provider and configure the credentials through the Netlify UI.
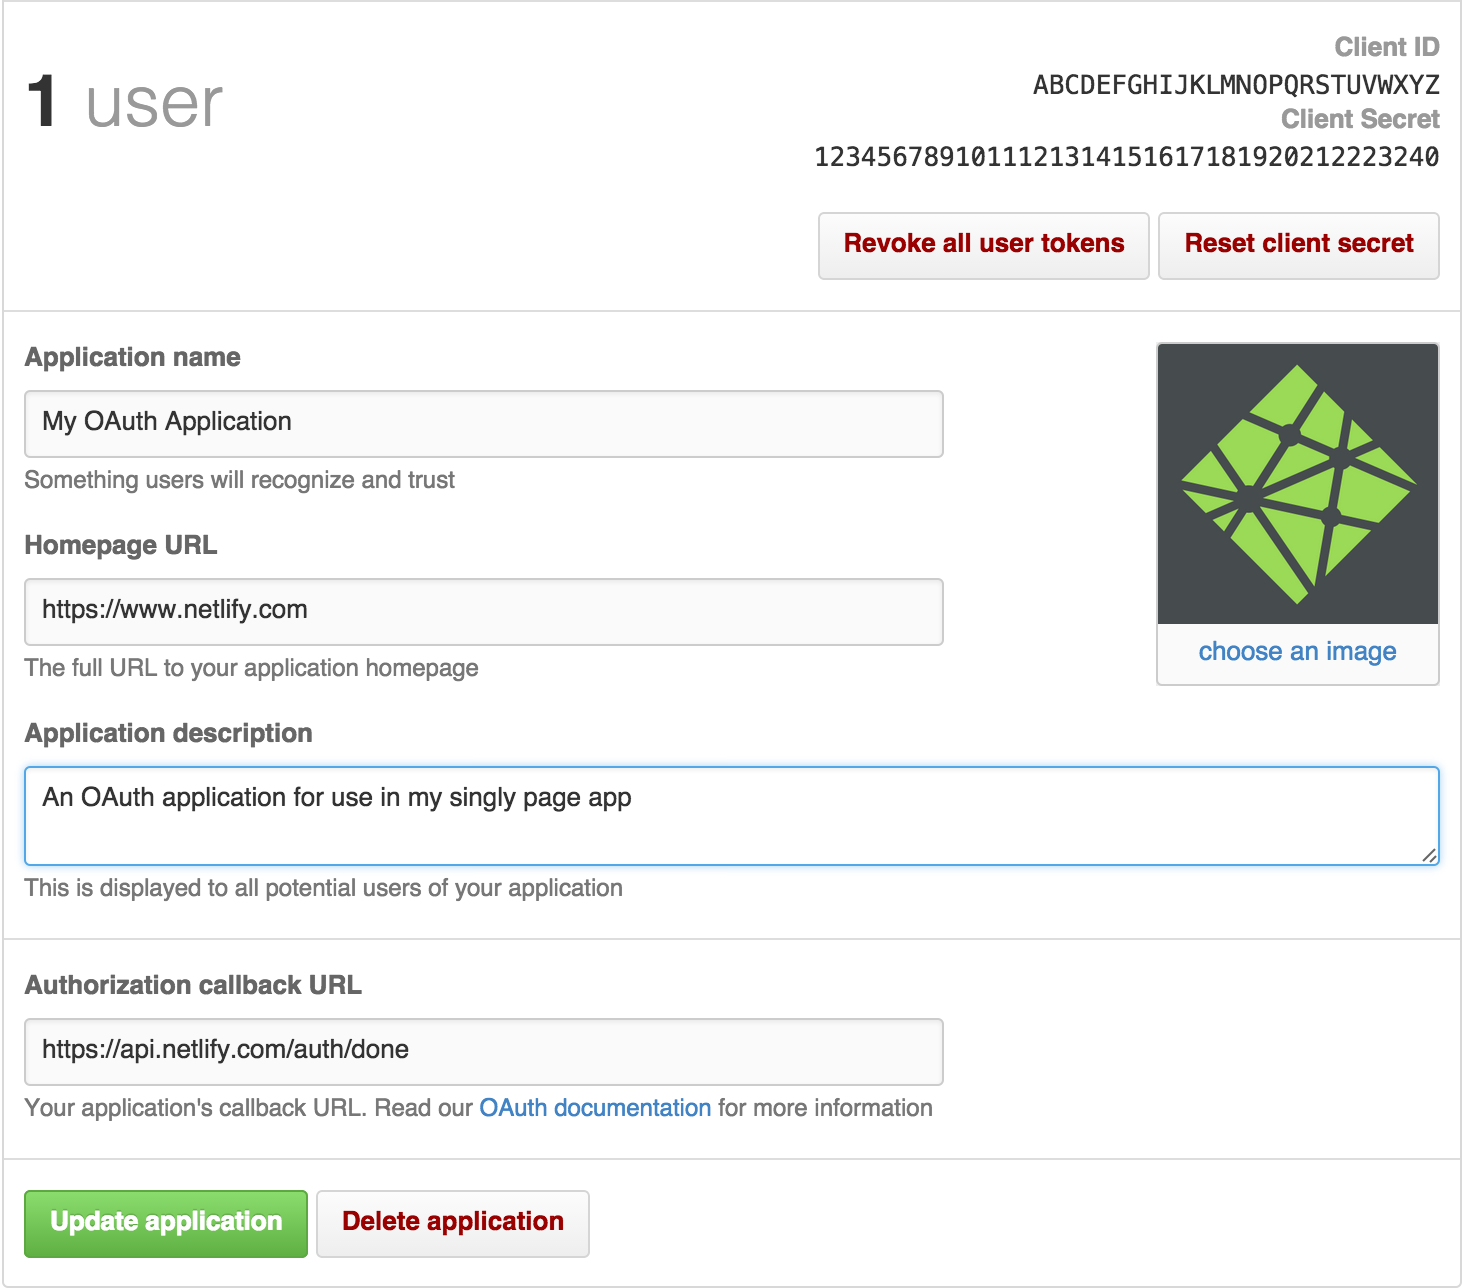
For Github, go to the Applications tab in the settings and create a new Developer Application.
Github will ask for an Authorization callback URL, make sure to enter https://api.netlify.com/auth/done.

Then go to the Access tab for your Netlify site and configure the Github provider with your new Client ID and Client Secret.
Once you’ve configured an authentication provider you can use it to obtain an access token in your single page app.
Here’s a complete example of how to ask the user to authenticate with Github and then display the resulting access token:
<!doctype html>
<html>
<head>
  <title>Github Authentication Example</title>
  <!--- This example uses jQuery: -->
  <script src="https://code.jquery.com/jquery-1.11.2.js"></script>

  <!-- Make sure to include Nelify's authentiation library -->
  <script src="https://app.netlify.com/authentication.js"></script>

  <script>
    $(function() {
      $("#login").on("click", function(e) {
        e.preventDefault();
        netlify.authenticate({provider:"github", scope: "user"}, function(err, data) {
          if (err) {
            return $("#output").text("Error Authenticating with Github: " + err);
          }
          $("#output").text("Authenticated with Github. Access Token: " + data.token);
        });
      });
    });
  </script>
</head>
<body>
  <h1>Github Auth Demo:</h1>
  <p><a href="#" id="login">Authenticate</a></p>
  <p id="output"></p>
</body>
</html>
OAuth1 vs OAuth2 and API proxying
Services that use OAuth2 are easy to consume directly from Javascript as long as they support CORS requests, since you just need to set an authorization header in your Ajax calls.
OAuth1 is not as friendly to single page apps since it requires a server to sign each request to the API with a secret key, and some OAuth2 services don’t support CORS request.
In these cases you can use Netlify’s proxy feature. For example, to proxy requests to BitBuckets API add this line to your _redirects file:
/bitbucket/* https://bitbucket.org/:splat 200
Now you can send Ajax requests to BitBuckets API even though it doesn’t support CORS requests by replacing https://bitbucket.org with /bitbucket.
BitBucket’s API use OAuth1, so normally just proxying requests wouldn’t help much, since you still need a server to sign requests with your secret. Netlify also has a solution to this.
When using netlify.authenticate with an OAuth1 API you get back an object with a token and a secret (this is not your API secret) and if you set these in an Authorization header, Netlify will automatically sign your API requests with your API secret.
A jQuery Ajax request to the BitBucket API to get a users repositories would look like:
$.ajax({
  url: "/bitbucket/1.0/user/repositories",
  headers: {
       Authorization: "oauth_token: " + token + ", oauth_token_secret: " + secret
  }
}).then(function(data) { console.log("Got repositories: %o", data); });
The token variables here are the token and secret you get back from the call to netlify.authenticate().
Supported Providers
Right now Netlify only support Github and BitBucket as authentication providers, but we’re working on adding more.
If you’re building a single page app and need to speak with a specific API, let us know and we’ll help you out.